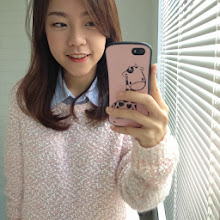
In this post, I am going to show you guys how I create my usual hair updo when I am in a rush. I think this hairstyle is very elegant and it certainly does not look like it is something that could be done within 2-3 minutes. And most importantly, it can lift up your appearance and it makes you look more put together instantly.
You'll need:
1. Hair ties;
2. Bobbi pins;
3. Hair brush;
4. Some hairspray (if you wish).
Instructions:
1. Tie your hair up in a pony tail. The higher you tie your hair, the higher your bun will be;
2. Place two fingers in between your hair tie (the start of your pony tail) and the tied section of your hair (not the 'tail'). Try to loosen the tied section and the 'tail' by forming a "Y" shape 'pouch' using your two fingers;
3. Tuck in your pony tail into the pouch and use bobbi pins to secure them and to ensure that there is no strands of hair sticking out;
4. Tidy up loose strands by using bobbi pins and hairspray if you wish.
Final look without the hair bow:
Personal tips:
1. Lower buns create the appearance of a more elegant look. You may try this if you are going to formal events. You may also wish to decorate the hair with headbands or flowers accordingly;
2. Creating a 'mohawk' will make the look more glamorous. If you intend to go for this look, you may wish to tease the crown of your hair before tying your hair up into the pony tail;
Image source: Pinterest
4. For a romantic look, curl the sides of your hair or your bangs.
Image source: beautyriot.com
Here is the Youtube tutorial:
If you are going to try this hairdo, let me know how you go. Don't forget to tag me on instagram and add a hashtag "ALTFDIY" which stands for "a little too free DIY".
If you are interested to see other DIY posts, don't forget to follow my social media to get more updates on my new projects:
Instagram: @fragilekuromi
Youtube: alittletoofree
Follow my blog via Bloglovin
I hope you love this tutorial and find it useful!
GOOD LUCK!
<3,
Evans


0 comments:
Post a Comment